Hey guys! I recently assisted in a project where aged paper was needed. I figured this would be a good opportunity to write a diy blog. I remember creating the look of aged paper when I was a kid with tea. Using teabags is an easy, fun and all natural way to created a vintage look to paper. However, the color of the tea just wasn’t drastic enough for me. I decided to use some water based paints. The directions are as follows.

You will need:
- 4 Cups Water
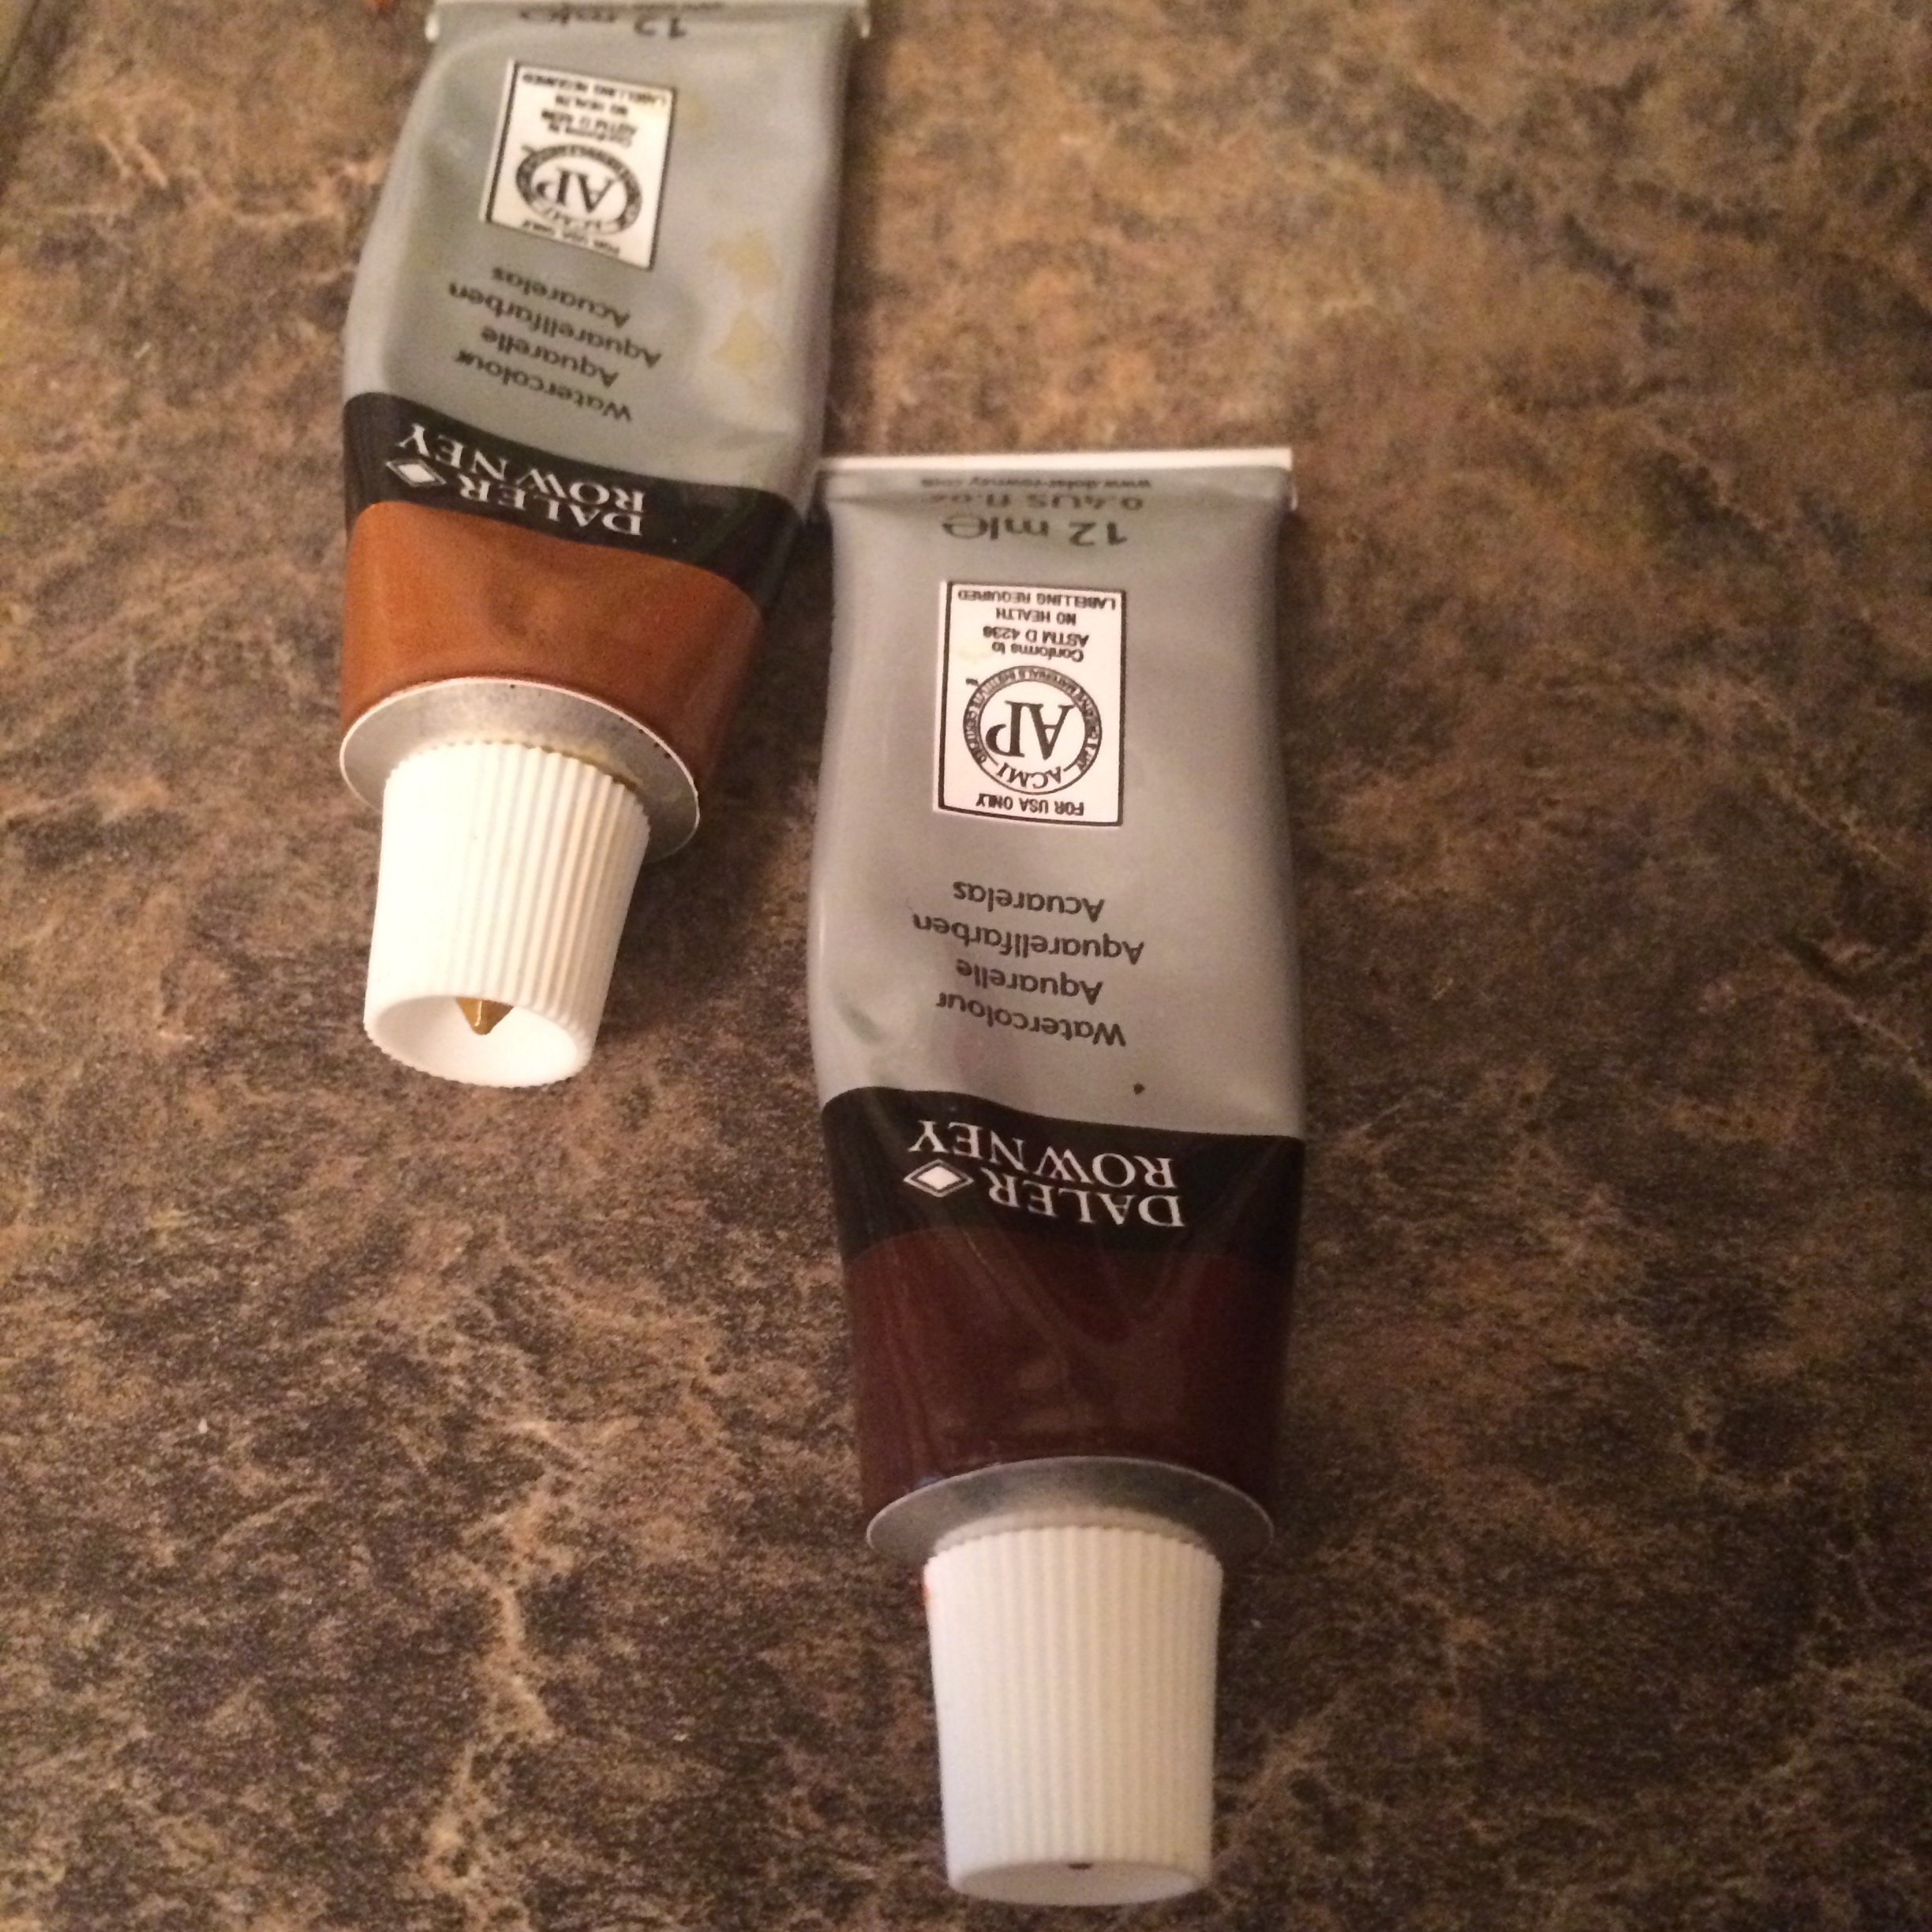
- A few tablespoons of brown water color paint ( or whatever color desired.)
- Paper that you would like to dye
- A flat tray (painters tray etc.)

Directions:
- Add water to the flat tray. You can use more water or less water depending on the size of your project and the shade of paint you’d like to make.
- Mix about 2 – 3 Tbs of your paint into the water tray. Mix until well combined.
- Quickly dip your paper into the water mix until covered in color. Don’t leave it in the tray for too long otherwise it would cause the paper to fall apart. Trying the dip test on some sample paper is always best before your main project.

- I used paper that I had printed from my inkjet computer. Surprisingly the ink didn’t run at all. I ended up making some cool looking vintage maps.
- Lay your sheets down flat to dry on a covered workspace. you can use a blow dryer to speed
 up the drying process.
Other aging ideas:
- Try using a paint brush and adding some extra tinted water around the edges. You could also add some darker shades of brown or black to the tint.
- Carefully burn the edges of your paper. I suggest doing this outside and away from anything flammable. It only takes a little fire to go along way. Once you light the paper on fire, blow it out after a few seconds. Be careful as the paper will remain hot and a possible fire hazard even after the fire has been blown out. You could keep a water bowl close by to help put the paper out.


- Put fake coffee cup marks. I tinted some of my water bath with a darker shade of brown. With a brush I generously painted the bottom of a coffee cup. I then pressed the cup against the aged paper for a few moments. When the cup is lifted there should be a coffee stain lookalike.
- Splatters. Dirt or fake blood splatters can be created by dipping your brush in tinted water and then swiftly whipped the brush in the direction of the paper. You could also run your finger agains the bristles of a brush to get the paint to splatter. This could get messy!


Here is a link to the tea method if you would like to try that!
